

Designing a clock
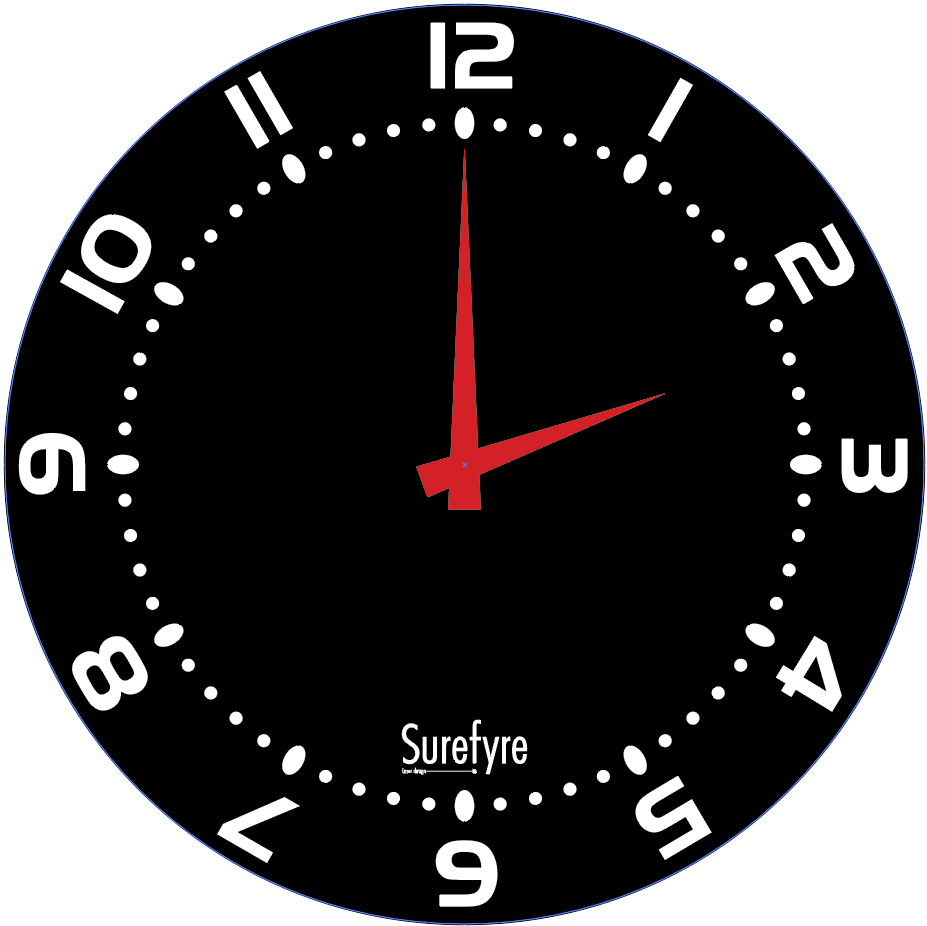
Making a wall clock turns out to be more straightforward than it sounds as the mechanisms themselves are readily available, which leaves it mostly down to the actual design which starts in Illustrator with a clock face, numbers and marking and a design for the hands. The colours aren’t so important though I did stick with a black face in this instance.
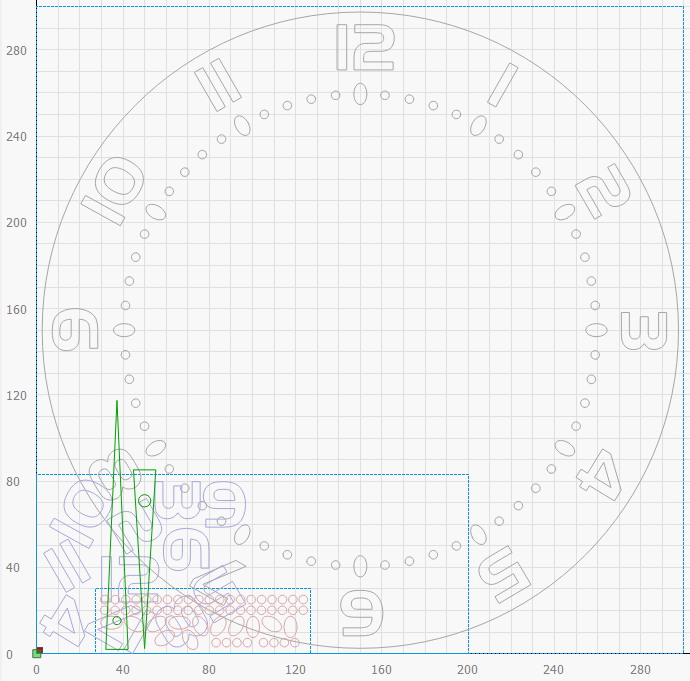
Next the Illustrator file is imported into LightBurn and all the individual elements collected together for cutting which looks like the clock has fallen apart into a pile! This is to save space on the materials otherwise you’d have to use a 300x300mm sheet of material for everything if you cut the elements as-is which is a bit of a waste and we don’t like waste!
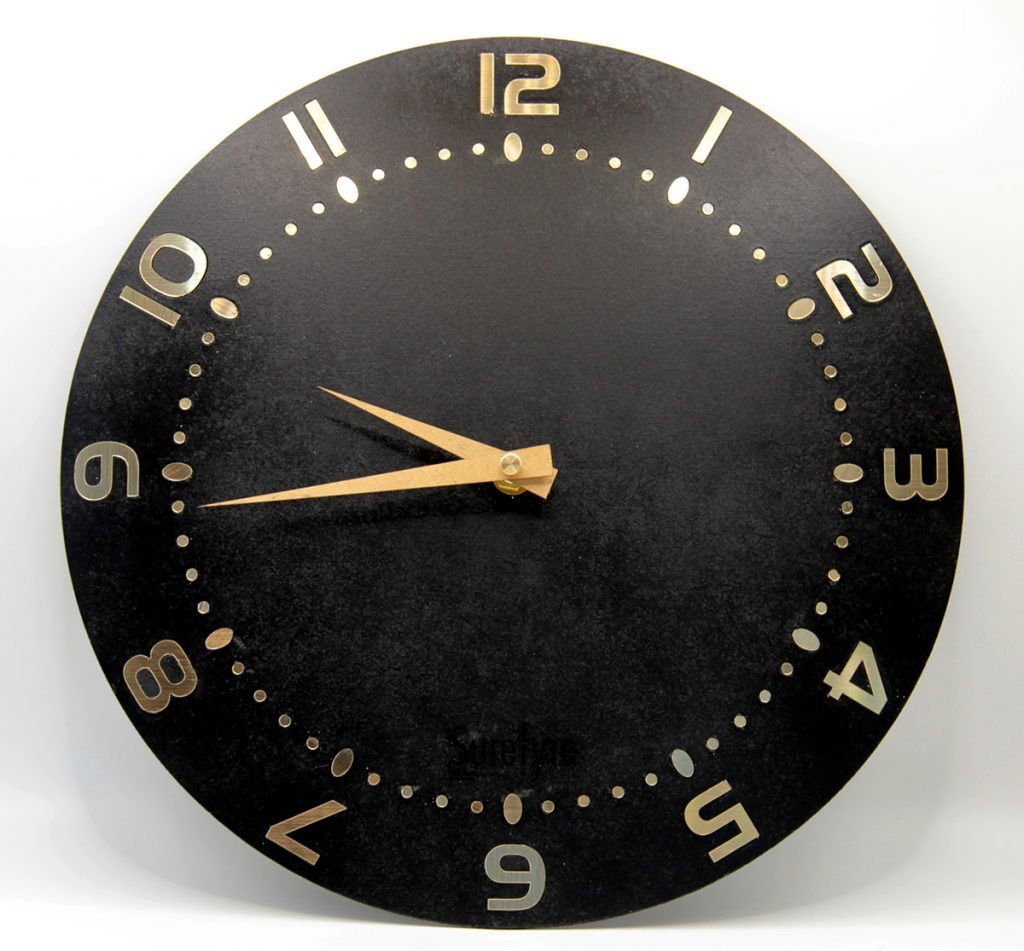
There’s several layers here as the face was cut from 2mm laser MDF, the hands from 0.9mm laserply and the numbers and the pips from gold-faced 1.5mm laser laminate which has a great brushed metal appearance.
Assembly involves inserting the gold laser laminate shapes into their respective cut-outs in the face, spraying the hands gold to match and pressing them onto the wall clock mechanism’s spindle, the mechanism being mounted on the rear and held in place with a nut and washer on the front. Getting the mounting hole in the hands to the correct size is important as you want them to grip the spindle snugly.
All that remains is to fit a hanging hook to the rear!
Naturally this can be customised in various ways, e.g. ‘Your logo here’ or some commemorative design as well as the face being cut in a different pattern such as Big Ben! Discover more clocks in our shop!
If there’s a particular design you’d like creating then get in touch and let’s talk about it!
Leave a Reply