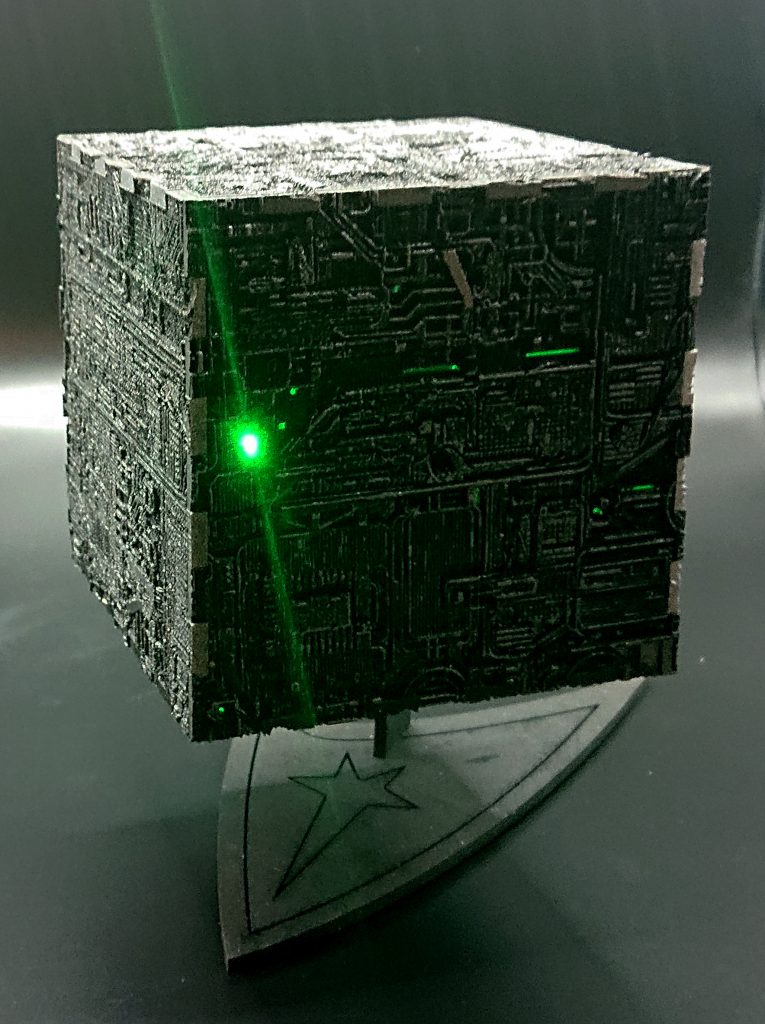
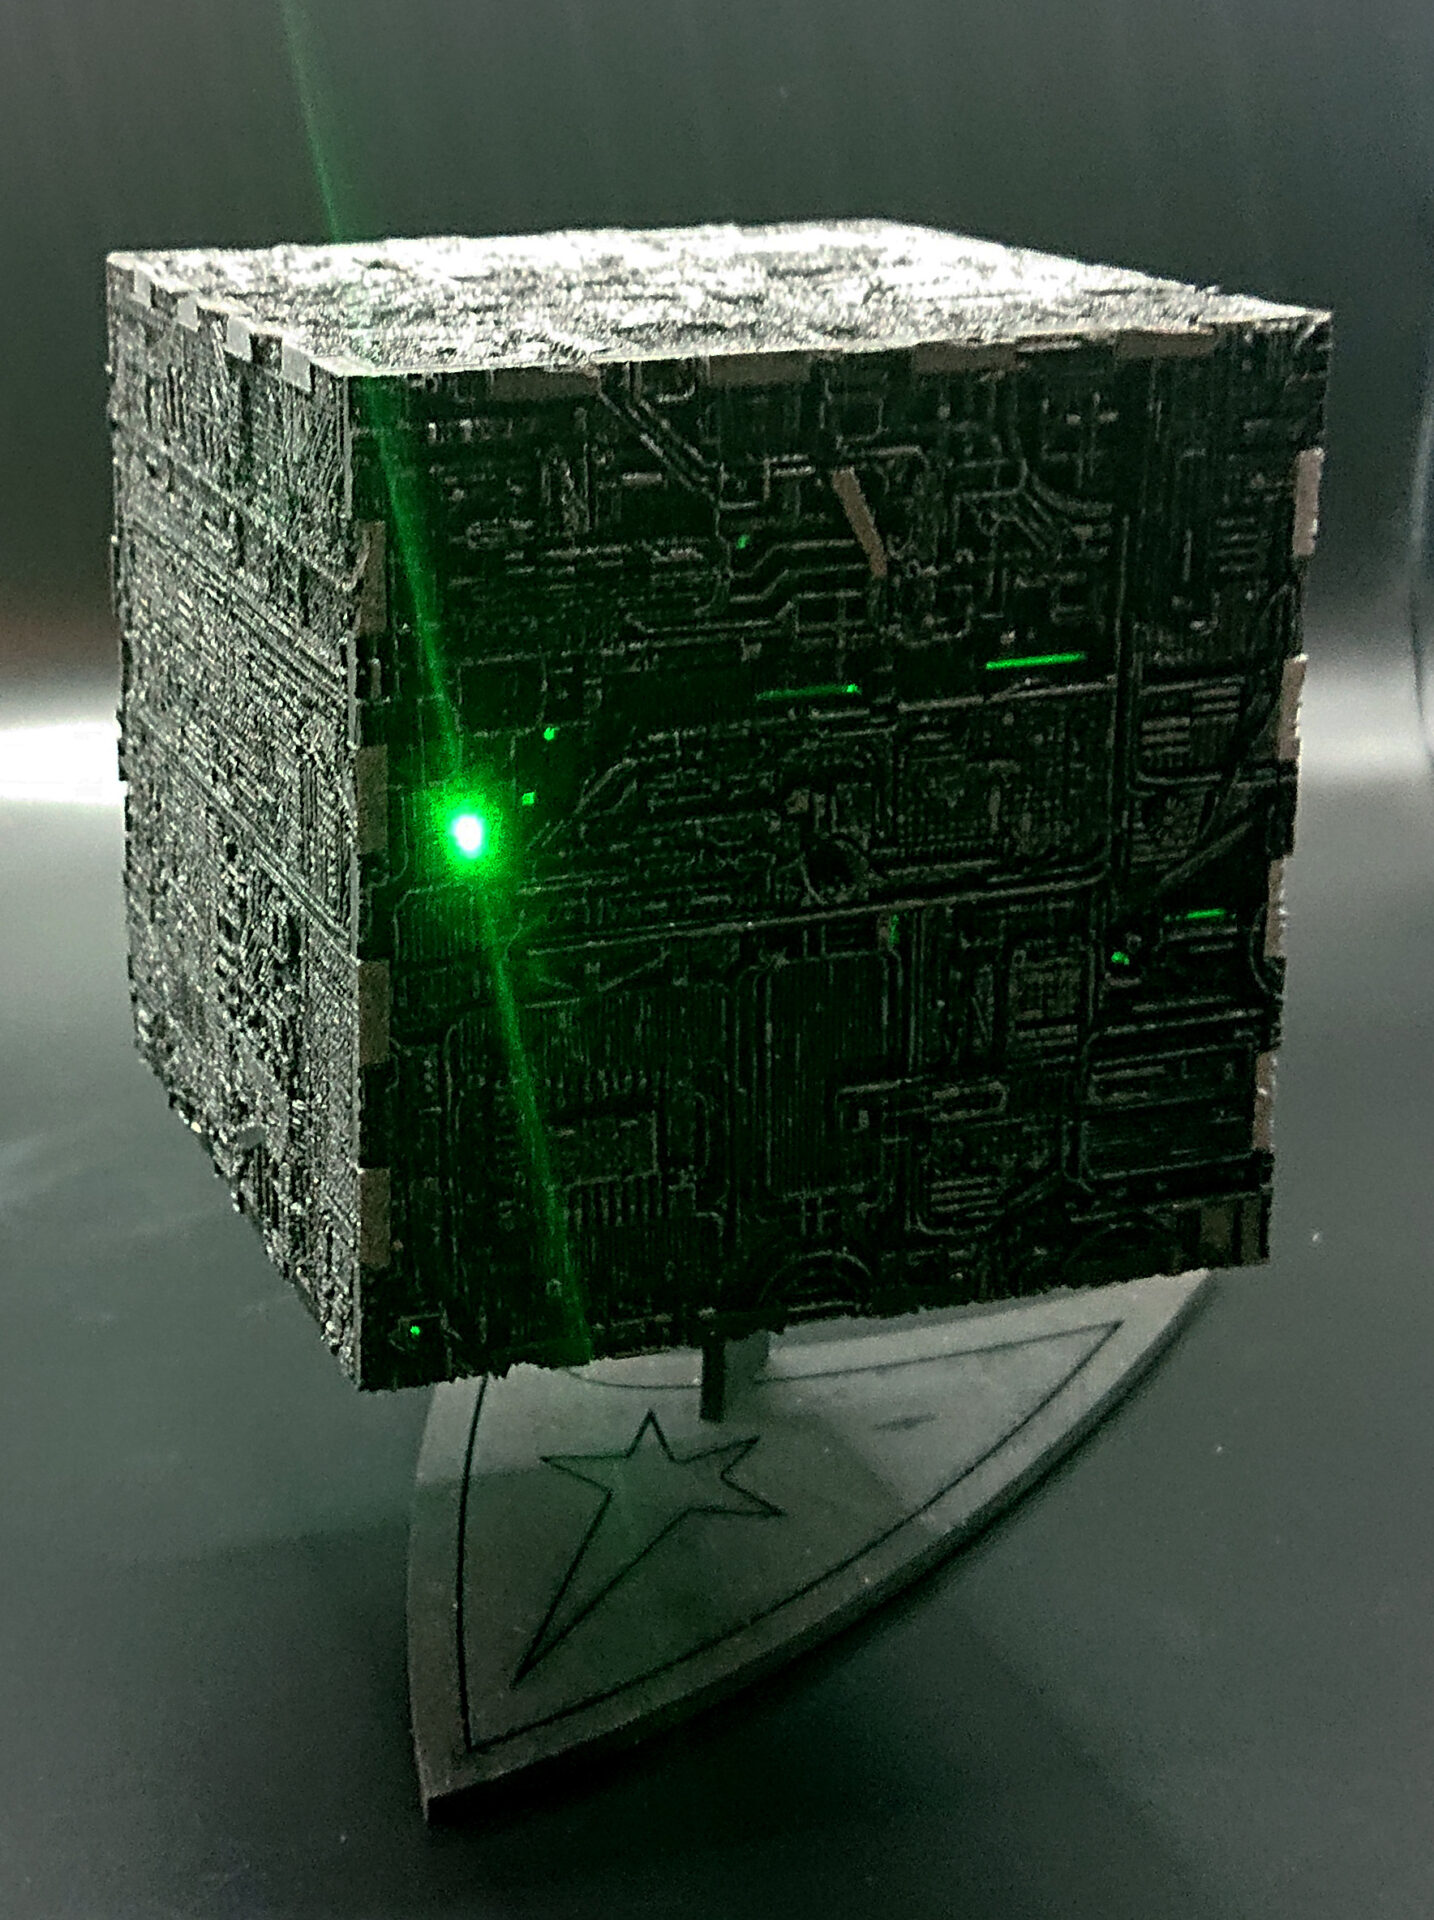
3D engraved texture
3D or not 3D
Not to be confused with 3D printing which is completely different, 3D engraving is a method of creating a texture in the surface you’re engraving by varying the laser power. Here’s how it works…

As the laser passes over the material it vapourises the surface of the material which is how the engraving is achieved. Now imagine the laser is not moving, at some point it will burn a hole through the material, assuming it is a material that can be cut. How long this takes depends on the amount of laser power being used, 100% power will obviously cut through far more quickly than 10% power.

Speed vs power
Now imagine it is moving quite quickly over the material, the laser spot will be spending much less time on any one part of the material and so instead of burning through the material it leaves a mark on the surface
It’s easy to see that the amount of effect the laser has on the material is a combination of speed and power so to achieve a 3D texture on a surface the easiest thing is to keep the speed constant and vary the power, so imagine as the laser is moving over the material, that we vary the power like this…

You would expect the material to be affected like this…

Now we understand how this works, imagine a greyscale picture of a texture where the darker shades are more power and the lighter shades less.

We can vary the laser from 0 to 100% power using the shades white through to black. Using a section of our Borg Cube project texture image you can immediately see how this then carves the texture into the material by varying the power!

To learn more about the techniques we use with lasers and different materials check out our other blog posts. If you’d like to discuss a project from business cards to assembled 3D models then get in touch!


Leave a Reply