Scratch paper is a popular medium for laser engraving but many people have a lot of trouble getting their settings down so here’s how I did it. The paper I used was ‘Rainbow Scratch Notes’ from Amazon.

The first task is to run a power test from 0 to 100% for which I have a handy test image I made. Most paper will cut at some power at around 6000mm/min speed so I picked 5000mm/min at 50% power as this is a bit more than just paper. Scratch paper has a sort of plasticised coating which you can see here looking a little frazzled and melted. Remember your percentages will vary, if you have a 40W laser then maybe start at 15% power, etc.

As you can see from the first test, the brightest results are down below 30% power so the second test is at the same speed but at around 30% of the 50% power, 17%.

As you can see this has shifted the brightest area to around 60% of the 17% power maximum so next I did a solid block at 12.5% fixed power. This came out nice and light but looked odd. Time to check with the microscope!

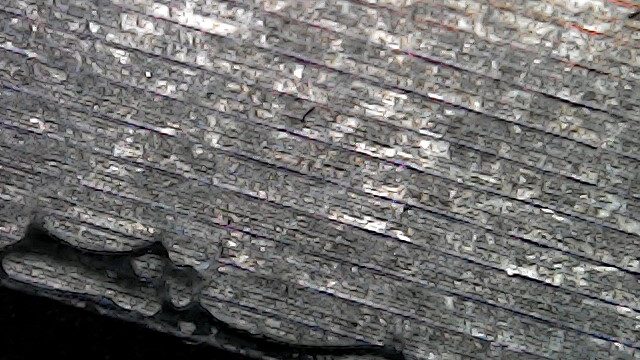
It’s not a fancy microscope, just a cheap 50-1000x USB unit but it gives you plenty of detail and this shows that the fill has really thin unengraved black lines between the rows and some fine debris from the coating, so a larger dot is needed. Reducing the line spacing made little difference so we have a different trick to use…

Defocusing the laser by moving it upwards by 7mm will increase the dot size which gives us this! A quick brush to remove the debris leaves it nice and clean.

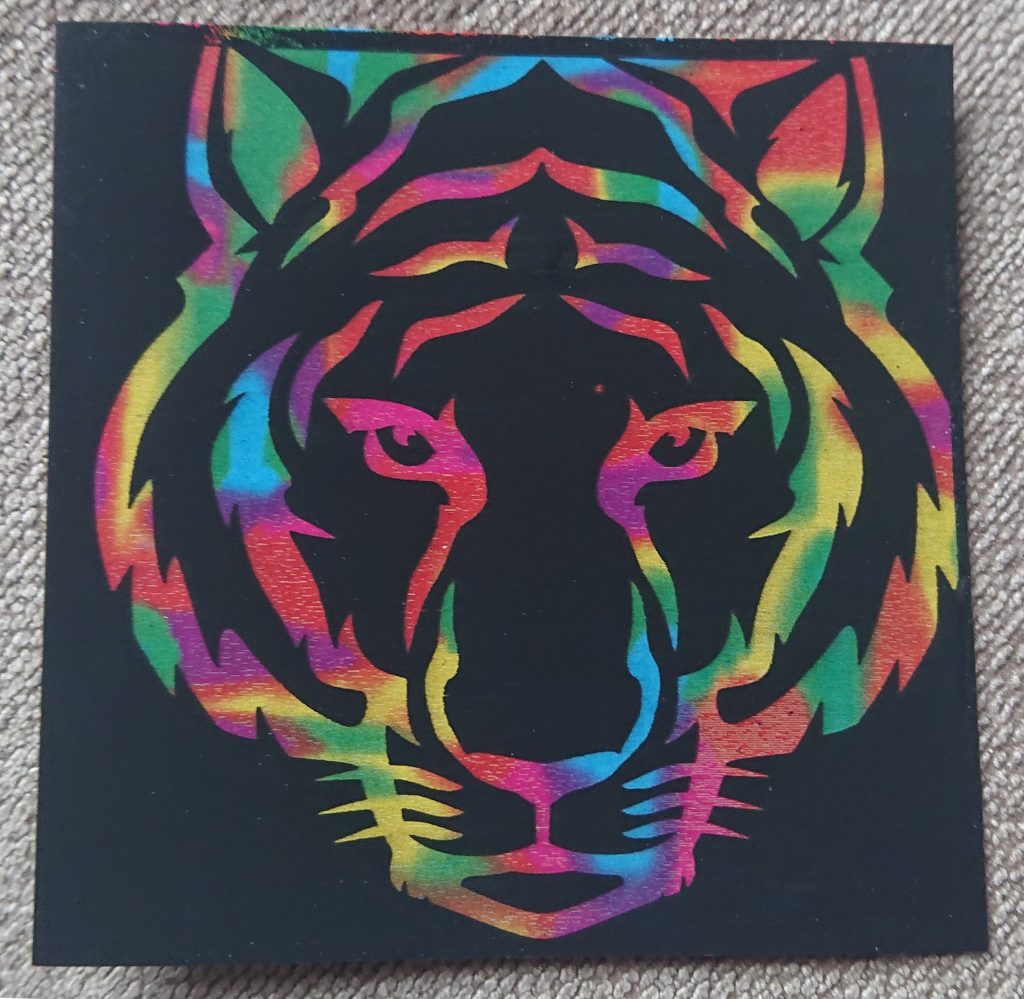
And here’s the proof of the pudding! I hope you found this useful, always remember you have the option of defocusing as well as tuning speed and power!
©2023 Surefyre Laser Design Ltd
info@surefyre.com
01788 247047
Trustpilot
Registered in UK 14588139
Registered for VAT 432696087


| Cookie | Duration | Description |
|---|---|---|
| cookielawinfo-checkbox-analytics | 11 months | This cookie is set by GDPR Cookie Consent plugin. The cookie is used to store the user consent for the cookies in the category "Analytics". |
| cookielawinfo-checkbox-functional | 11 months | The cookie is set by GDPR cookie consent to record the user consent for the cookies in the category "Functional". |
| cookielawinfo-checkbox-necessary | 11 months | This cookie is set by GDPR Cookie Consent plugin. The cookies is used to store the user consent for the cookies in the category "Necessary". |
| cookielawinfo-checkbox-others | 11 months | This cookie is set by GDPR Cookie Consent plugin. The cookie is used to store the user consent for the cookies in the category "Other. |
| cookielawinfo-checkbox-performance | 11 months | This cookie is set by GDPR Cookie Consent plugin. The cookie is used to store the user consent for the cookies in the category "Performance". |
| viewed_cookie_policy | 11 months | The cookie is set by the GDPR Cookie Consent plugin and is used to store whether or not user has consented to the use of cookies. It does not store any personal data. |